

When summer heat kicks in, a reliable air conditioning system becomes essential for comfort and indoor air quality. But installing a new AC system isn’t as simple as picking a unit off the shelf and plugging it in. It’s a process that requires planning, precision, and professional expertise. In this post, we’ll walk you through the key steps involved in selecting the right-sized air conditioner for your home and what to expect during the process of professional AC installation in Lakeside, MT.
Step 1: Choosing the Right Size AC Unit
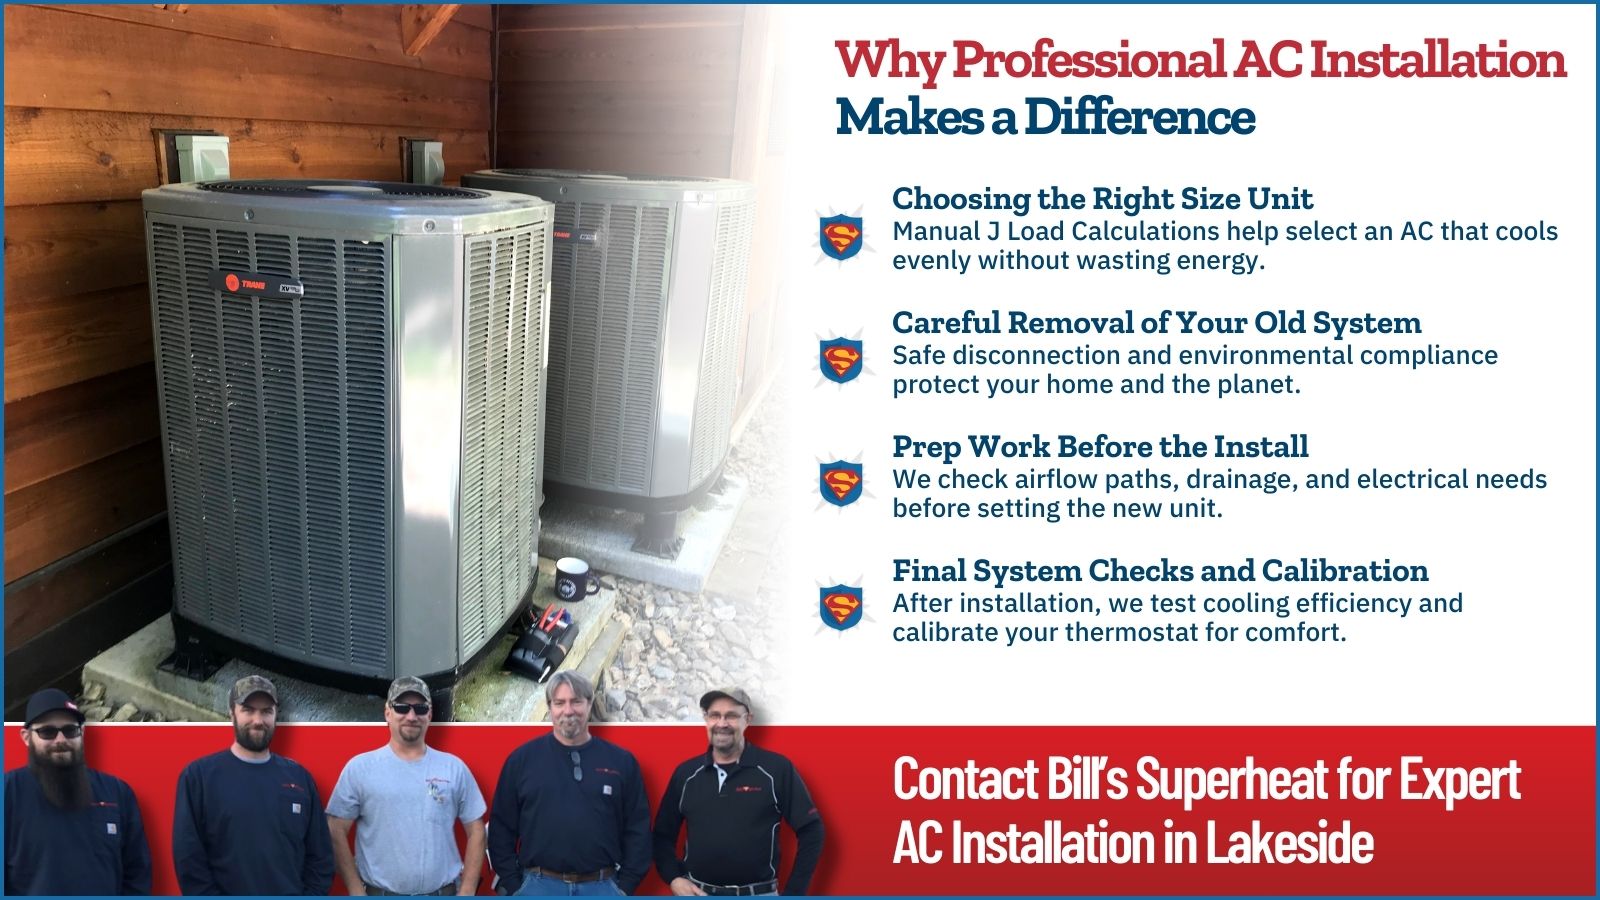
One of the most important steps in AC installation is selecting a unit that’s properly sized for your space. An air conditioner that’s too small won’t be able to cool your home efficiently, while one that’s too large will cycle on and off frequently, wasting energy and potentially leading to uneven cooling and higher humidity levels.
HVAC contractors use a calculation called a Manual J Load Calculation to determine the right size unit. This takes into account your home’s square footage, insulation levels, number of windows, ceiling height, and other factors. Based on this analysis, we recommend a unit with the correct cooling capacity, typically measured in BTUs (British Thermal Units) or tons.
Step 2: Removing the Old Unit
Once the right-sized unit has been selected, the next step is to remove the existing AC system. This involves safely disconnecting the old unit from the power supply and refrigerant lines. Licensed contractors are trained to handle refrigerants properly, following environmental regulations to prevent leaks or improper disposal.
The technician will also inspect the existing ductwork, thermostat, and electrical connections to determine whether any upgrades or repairs are needed before installing the new system. In some cases, replacing or sealing ductwork is necessary to improve efficiency and air distribution.
Step 3: Preparing for Installation
Before the new unit is installed, the technician will prepare the installation site. This may involve setting a new concrete or composite pad for the outdoor condenser unit, checking that airflow pathways are unobstructed, and ensuring proper drainage for condensate lines. If a new thermostat or indoor air handler is part of the upgrade, the contractor will plan how to integrate these components with the existing system.
Step 4: Installing the New AC Unit
The new unit is then installed, which involves mounting the indoor evaporator coil, connecting it to the furnace or air handler, and placing the outdoor condenser unit. Refrigerant lines, drain lines, and electrical wiring are connected carefully and tested to ensure everything is sealed and operational.
After the mechanical connections are complete, the system is charged with refrigerant, and the contractor will test the unit to confirm it’s operating efficiently. We’ll also calibrate the thermostat and check for proper airflow throughout your home.
Final Step: Post-Installation Check and Walkthrough
Once the installation is complete, your HVAC technician will walk you through the system’s operation, maintenance tips, and warranty information. We’ll answer any questions you have and ensure you’re comfortable using your new AC system.
Proper AC installation is a smart investment in your home’s comfort and energy efficiency. By working with a qualified HVAC expert at Bill’s Superheat, Inc., you can ensure a smooth process and long-lasting cooling performance.
For all of your HVAC needs, contact Bill’s Superheat, Inc. today! Here to Save the Day!